How too add Goproxy in ixBrowser
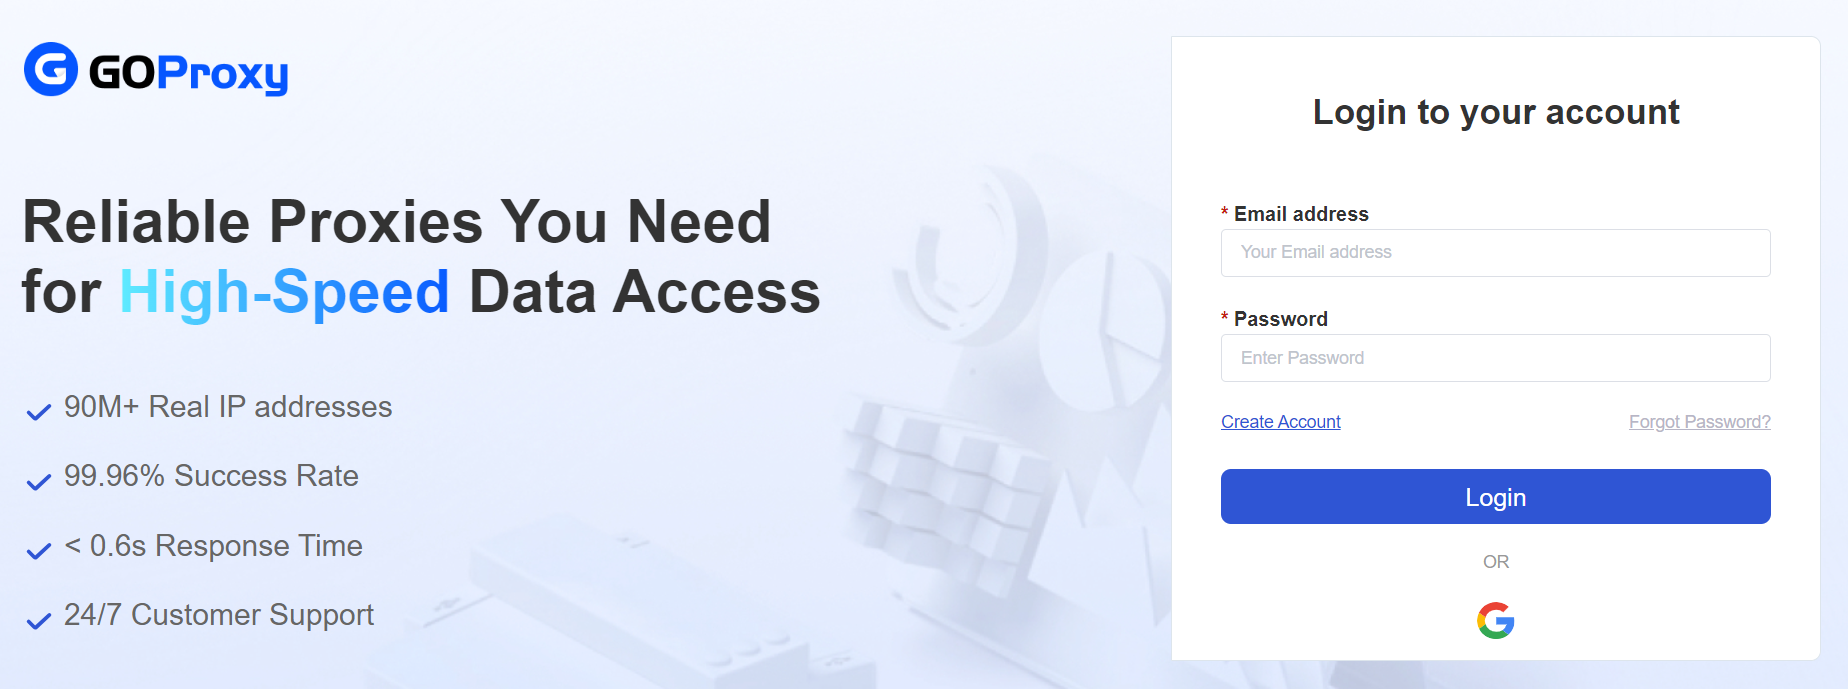
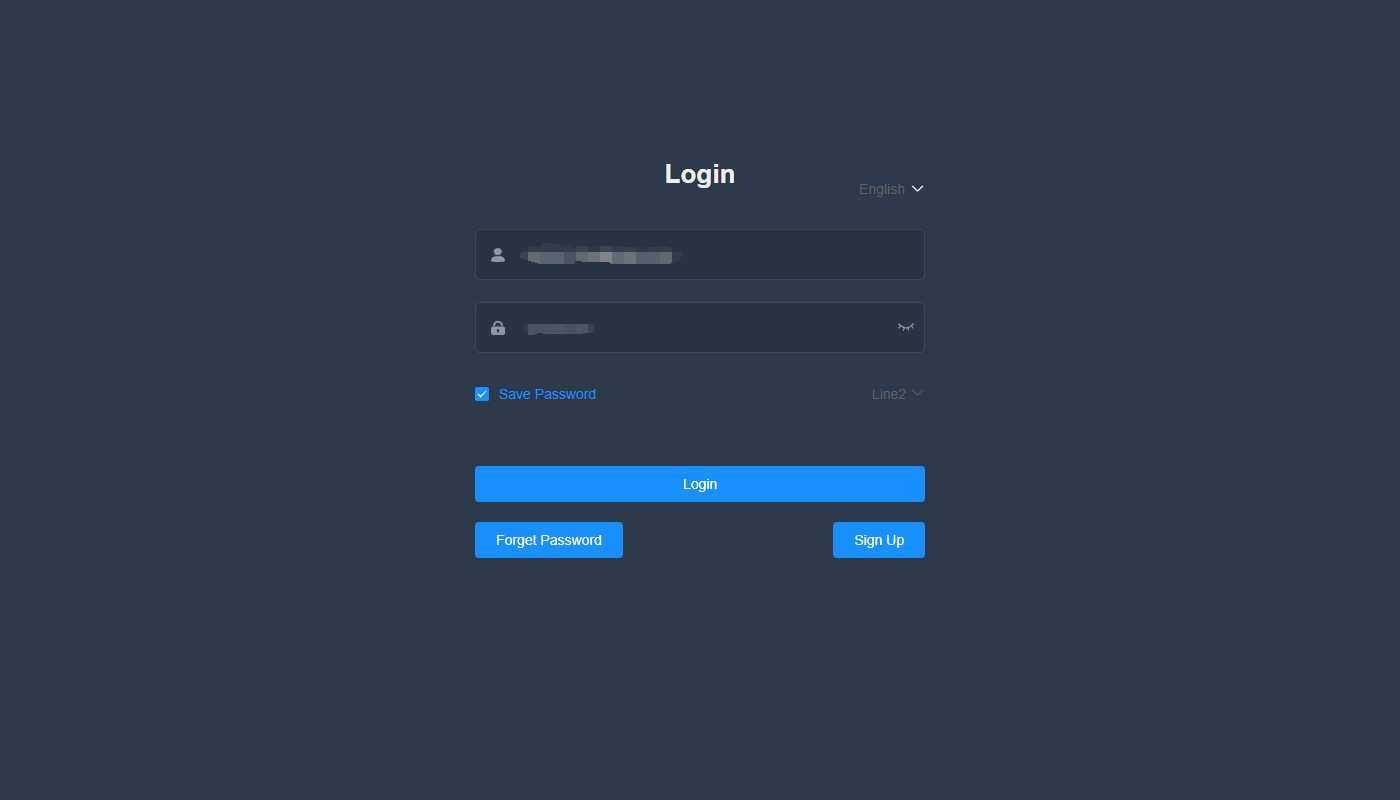
Step 1: Logging into the Goproxy dashboard;
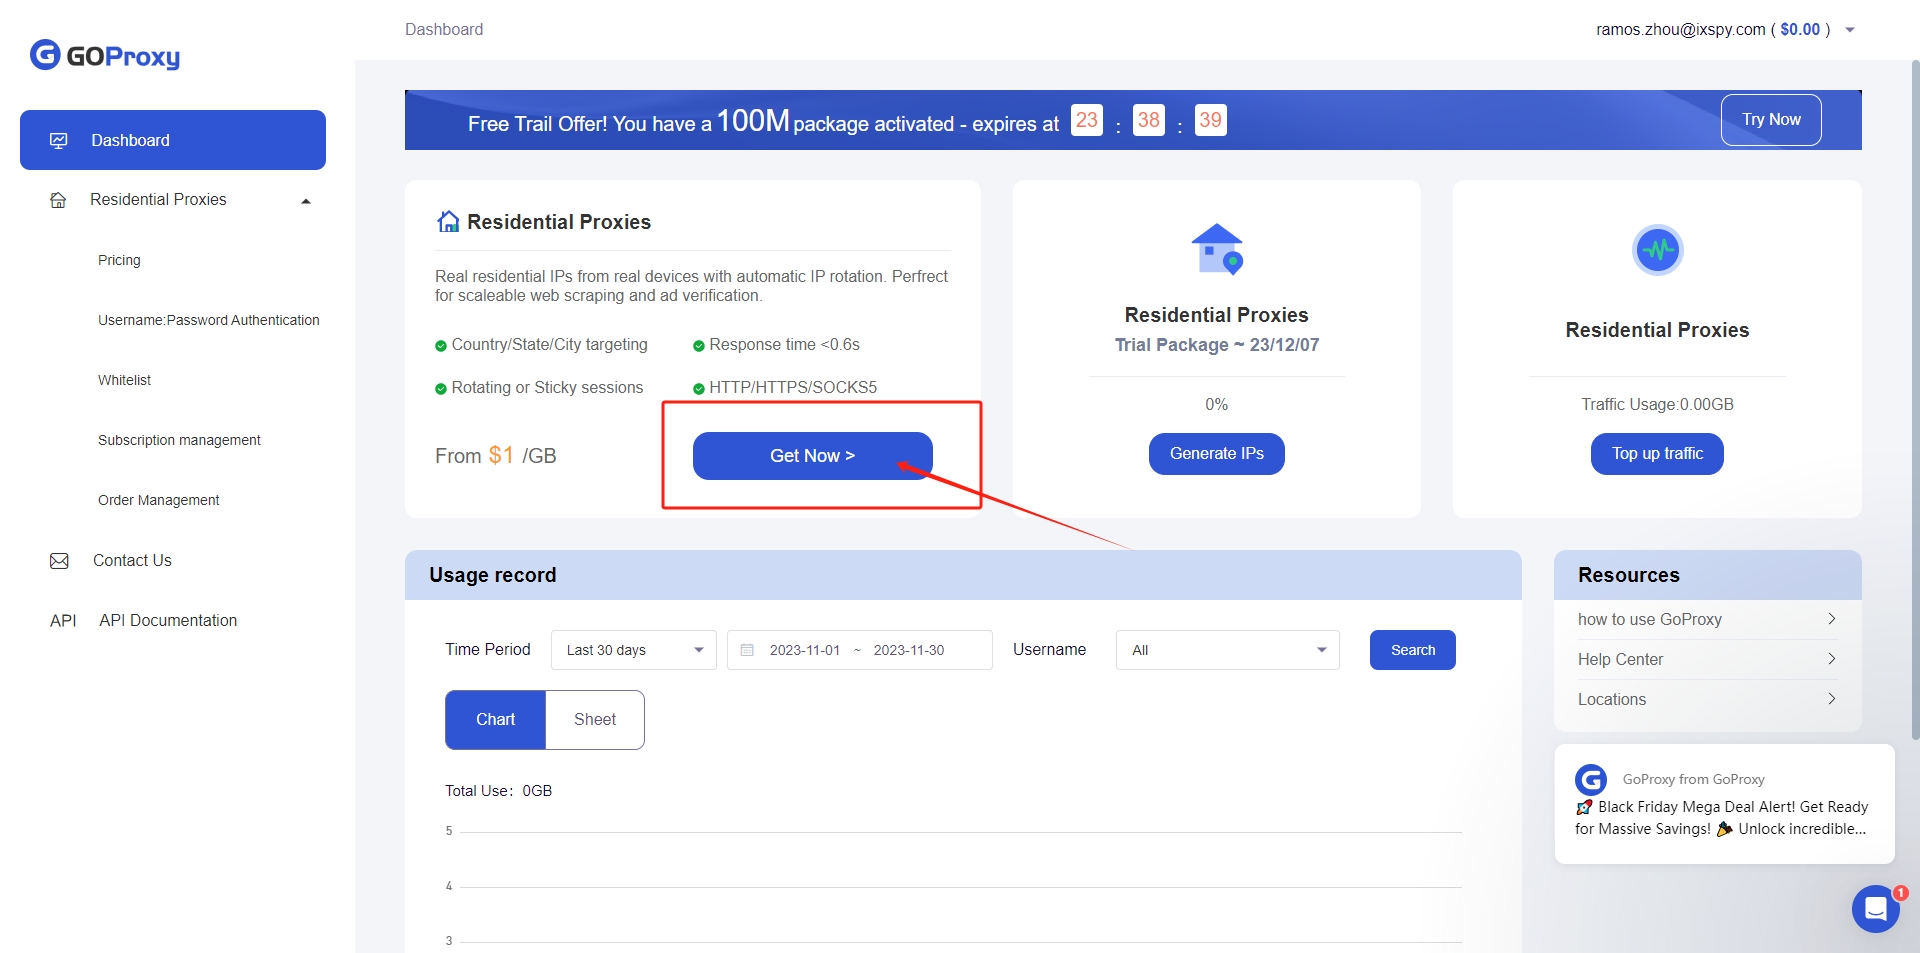
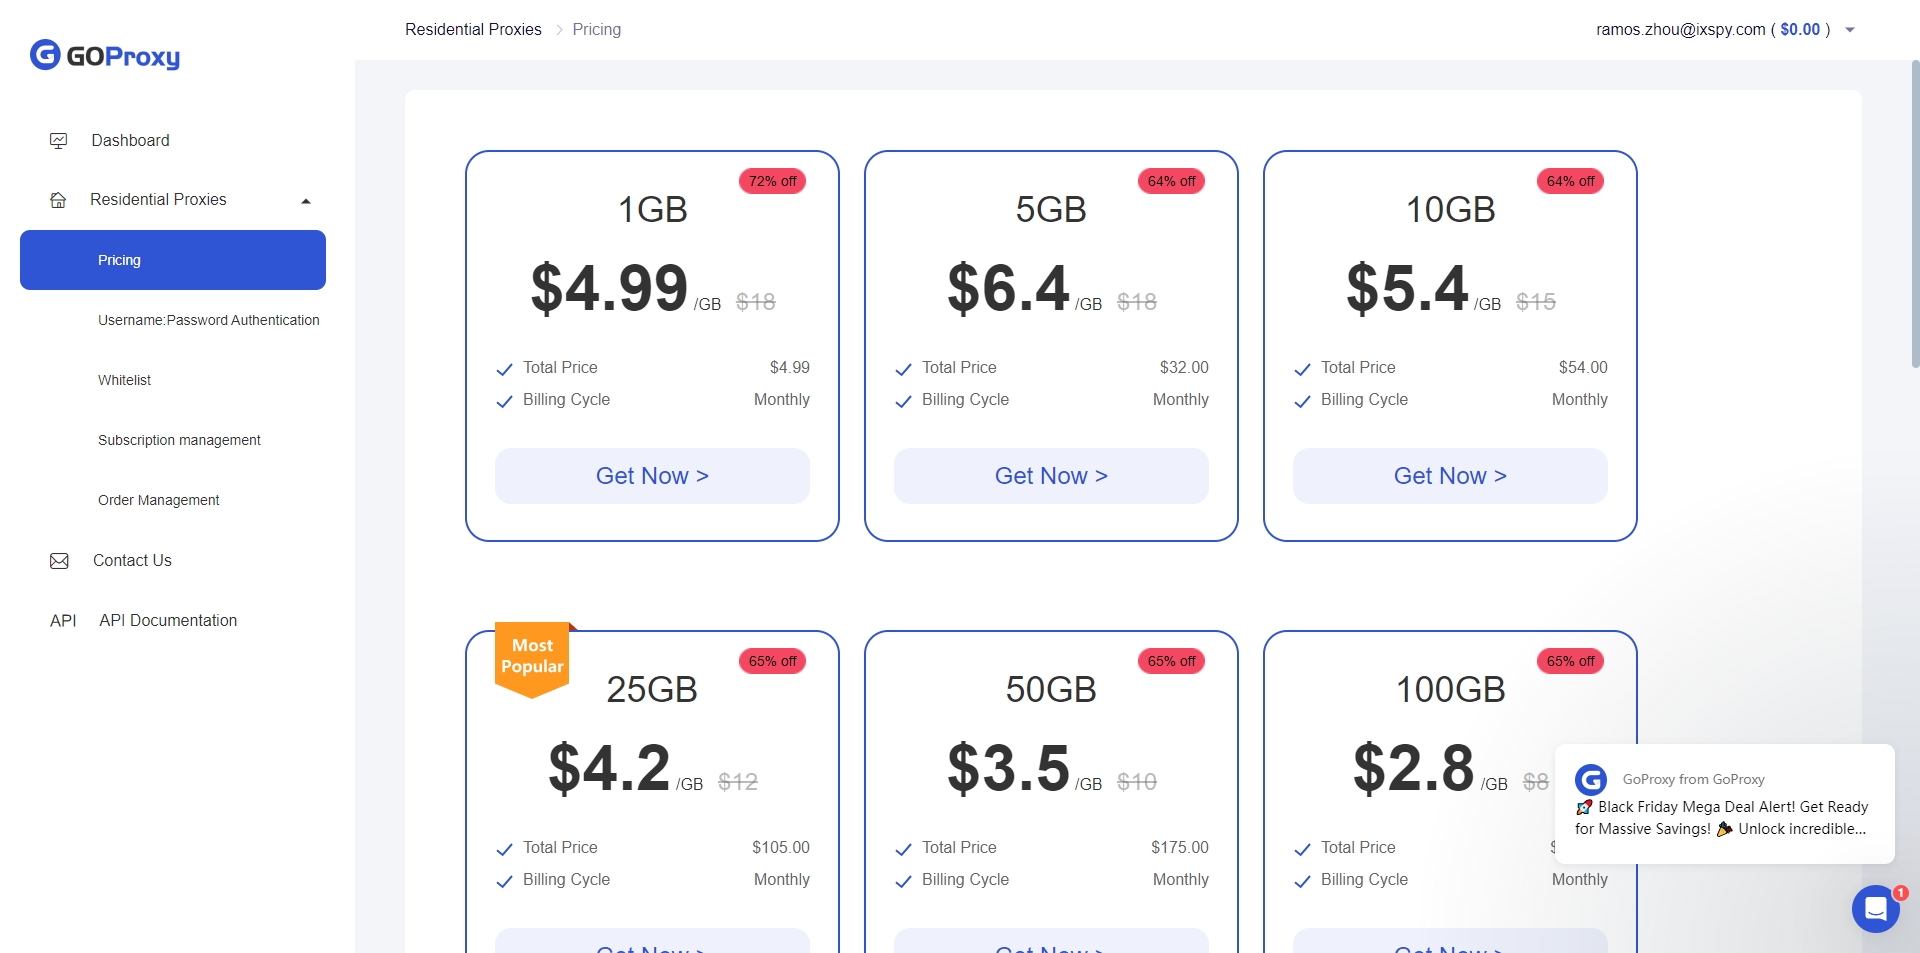
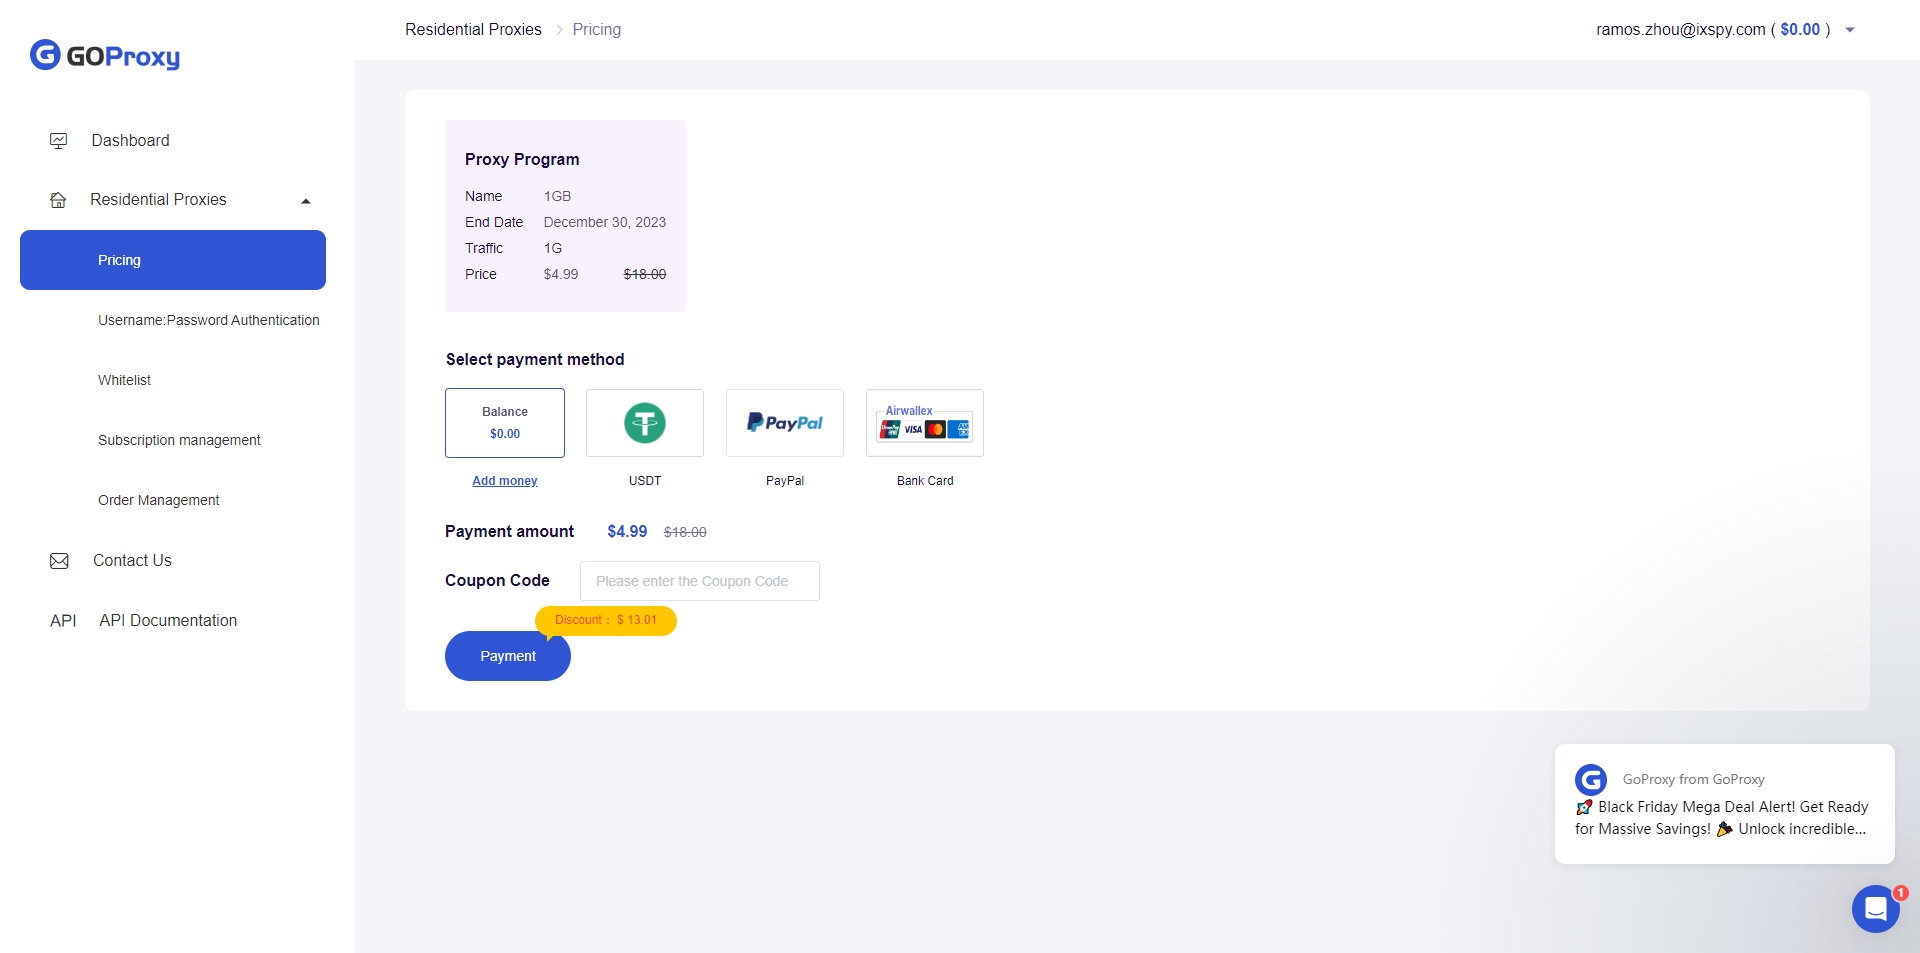
Step 2: Click “Get Now” button to go to Pricing page, select the package you want, and follow the guidance to purchase it;
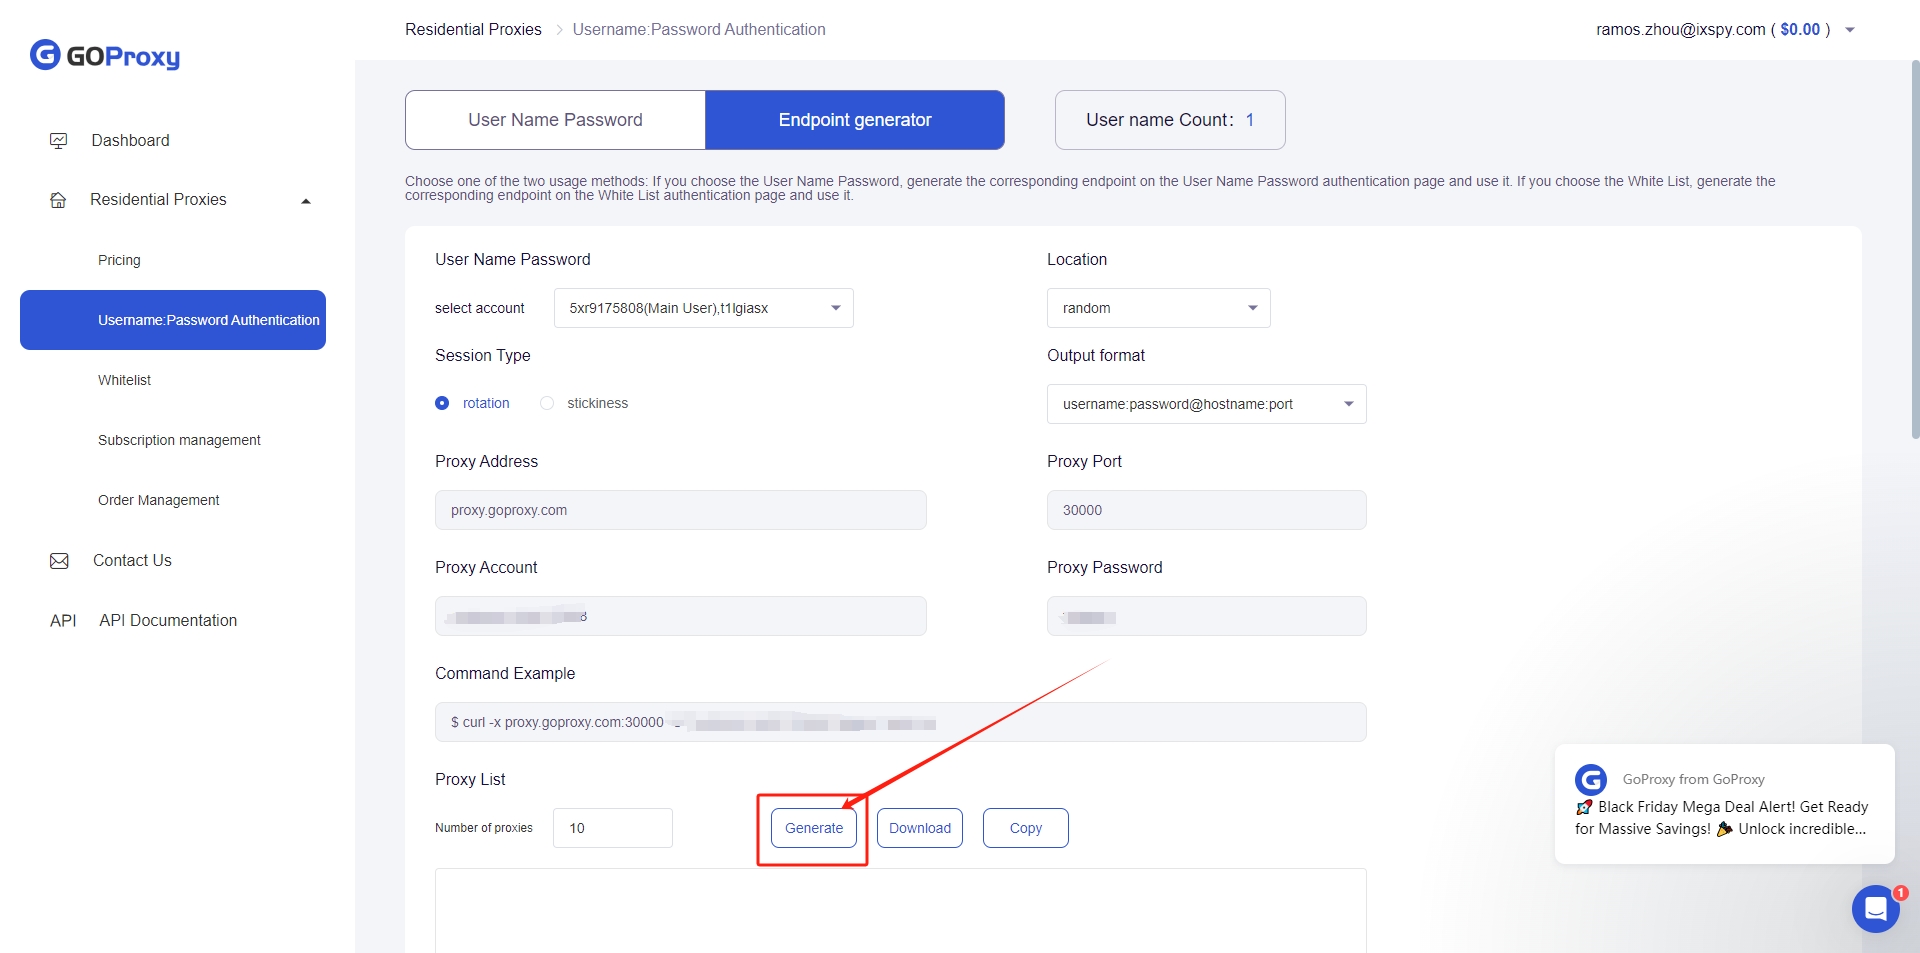
Step 3: Then go to “Username:Password Authentication” page, set the info of the proxy and generate;
Step 4: Download, install, and login to ixBrowser;
Step 5: Click “Create Profile” button, in the pop-up page, choose the platform and group, and enter profile info;

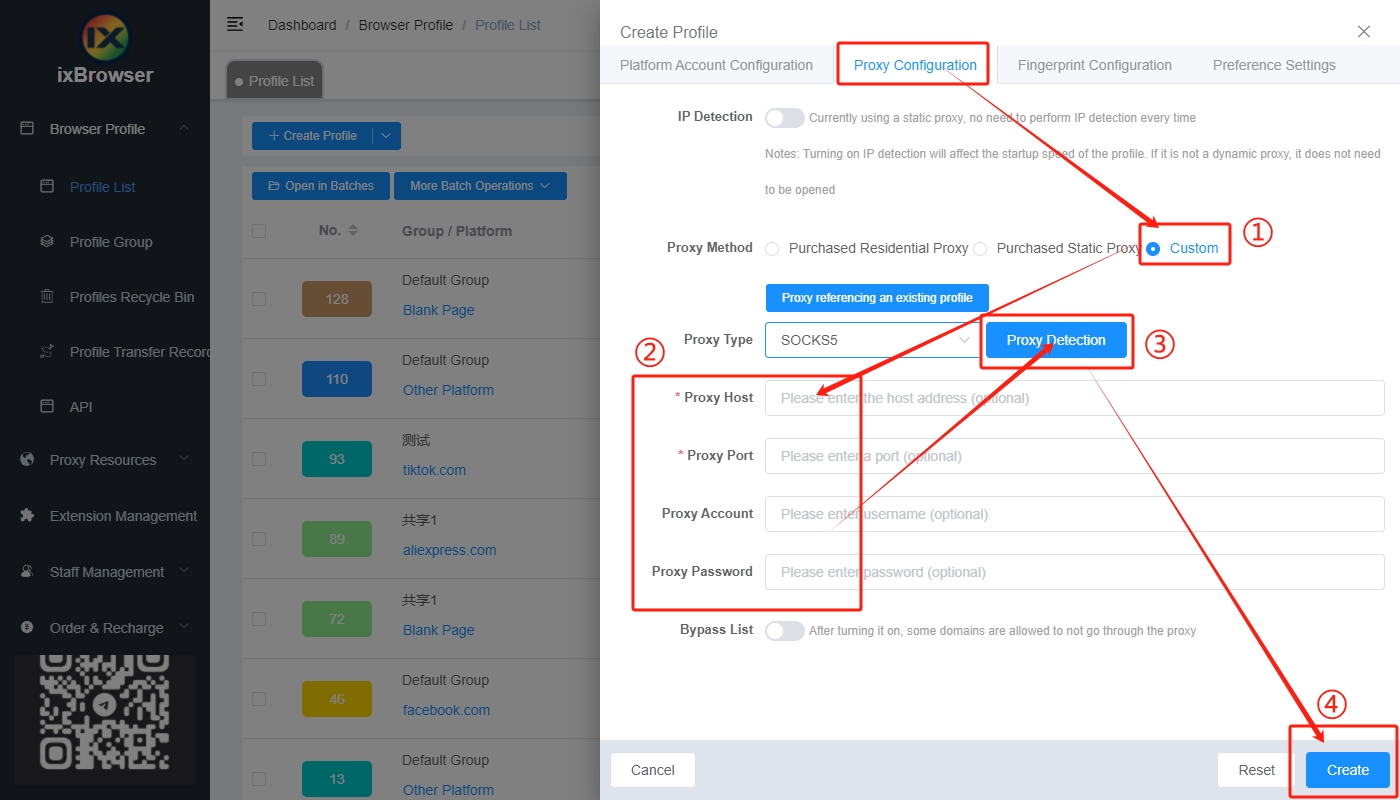
Step 6: Go to “Proxy Configuration” page, select the Proxy Method to Custom, and enter the proxy info we generated in Step 3, and press Network Detection;
Step 7: Once the detection passed, you can click create button and start using the proxy with ixBrowser;
Step 2: Click “Get Now” button to go to Pricing page, select the package you want, and follow the guidance to purchase it;
Step 3: Then go to “Username:Password Authentication” page, set the info of the proxy and generate;
Step 4: Download, install, and login to ixBrowser;
Step 5: Click “Create Profile” button, in the pop-up page, choose the platform and group, and enter profile info;
Step 6: Go to “Proxy Configuration” page, select the Proxy Method to Custom, and enter the proxy info we generated in Step 3, and press Network Detection;
Step 7: Once the detection passed, you can click create button and start using the proxy with ixBrowser;